Quick Tutorial
We suggest getting started with a quick exercise using the Switchboard Editor to help you wrap your head around what Switchboard is, what an audio graph is, and how Switchboard works. It’s also a great segue into working directly with the libraries.
1. Create an empty Switchboard project
First we'll create an empty Switchboard project in the Switchboard Editor.
You can always find a link to the Switchboard Editor on the top right on the documentation site.
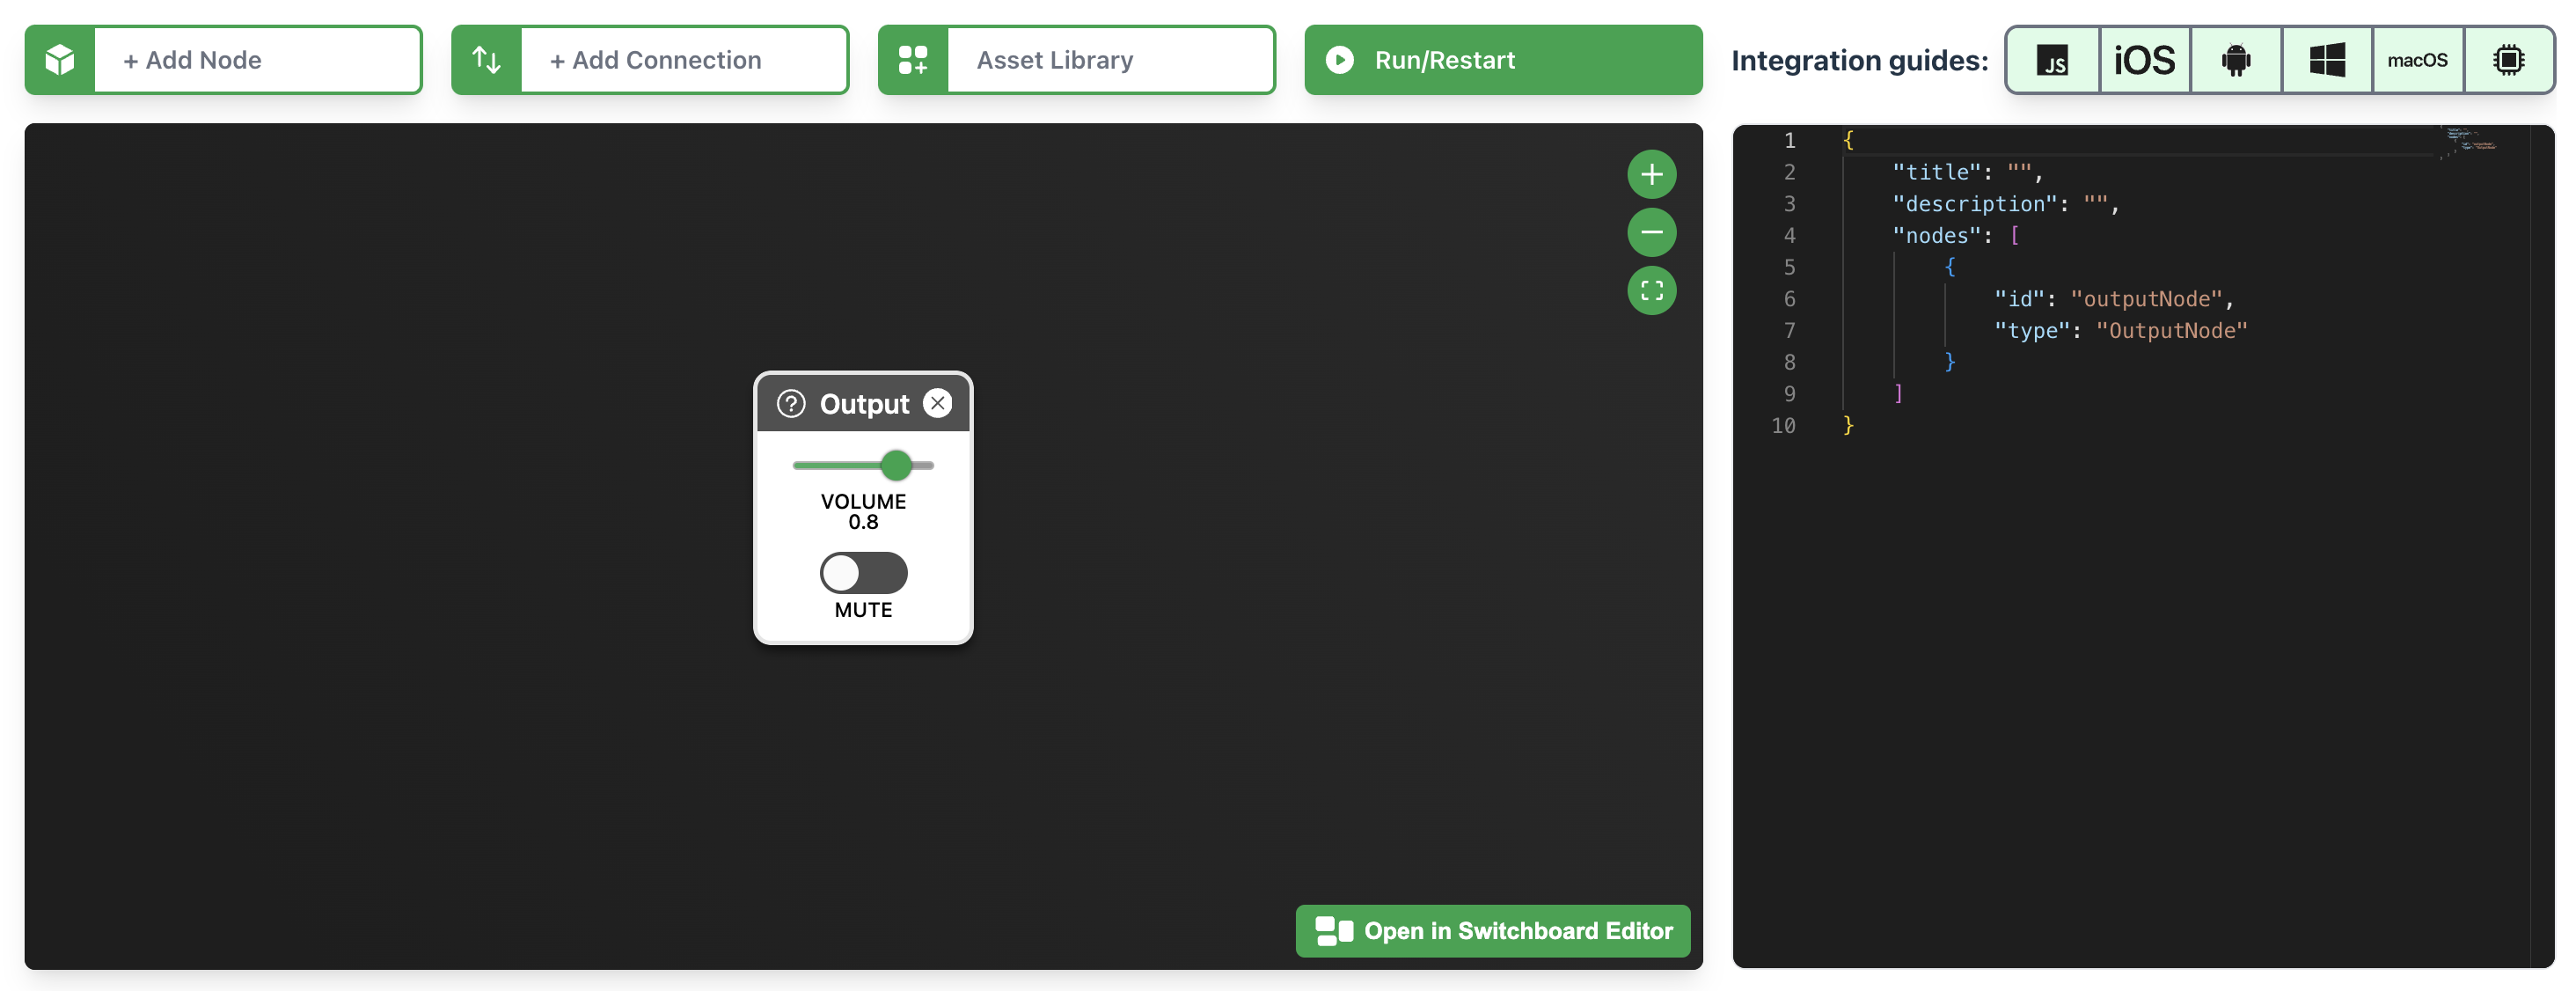
You'll first see an empty project, with the layout showing the interactive graph on the left and Switchboard JSON editor on the right.
2. Adding a node
Currently there is nothing but an output node. So we can start by adding an input to the graph. This could be a microphone input, a music stream, a file, audio provided via a third party extension, or just about anything audio-related. To keep this example simple, we’re going to get started with a file with pre-recorded audio, for illustrative purposes.
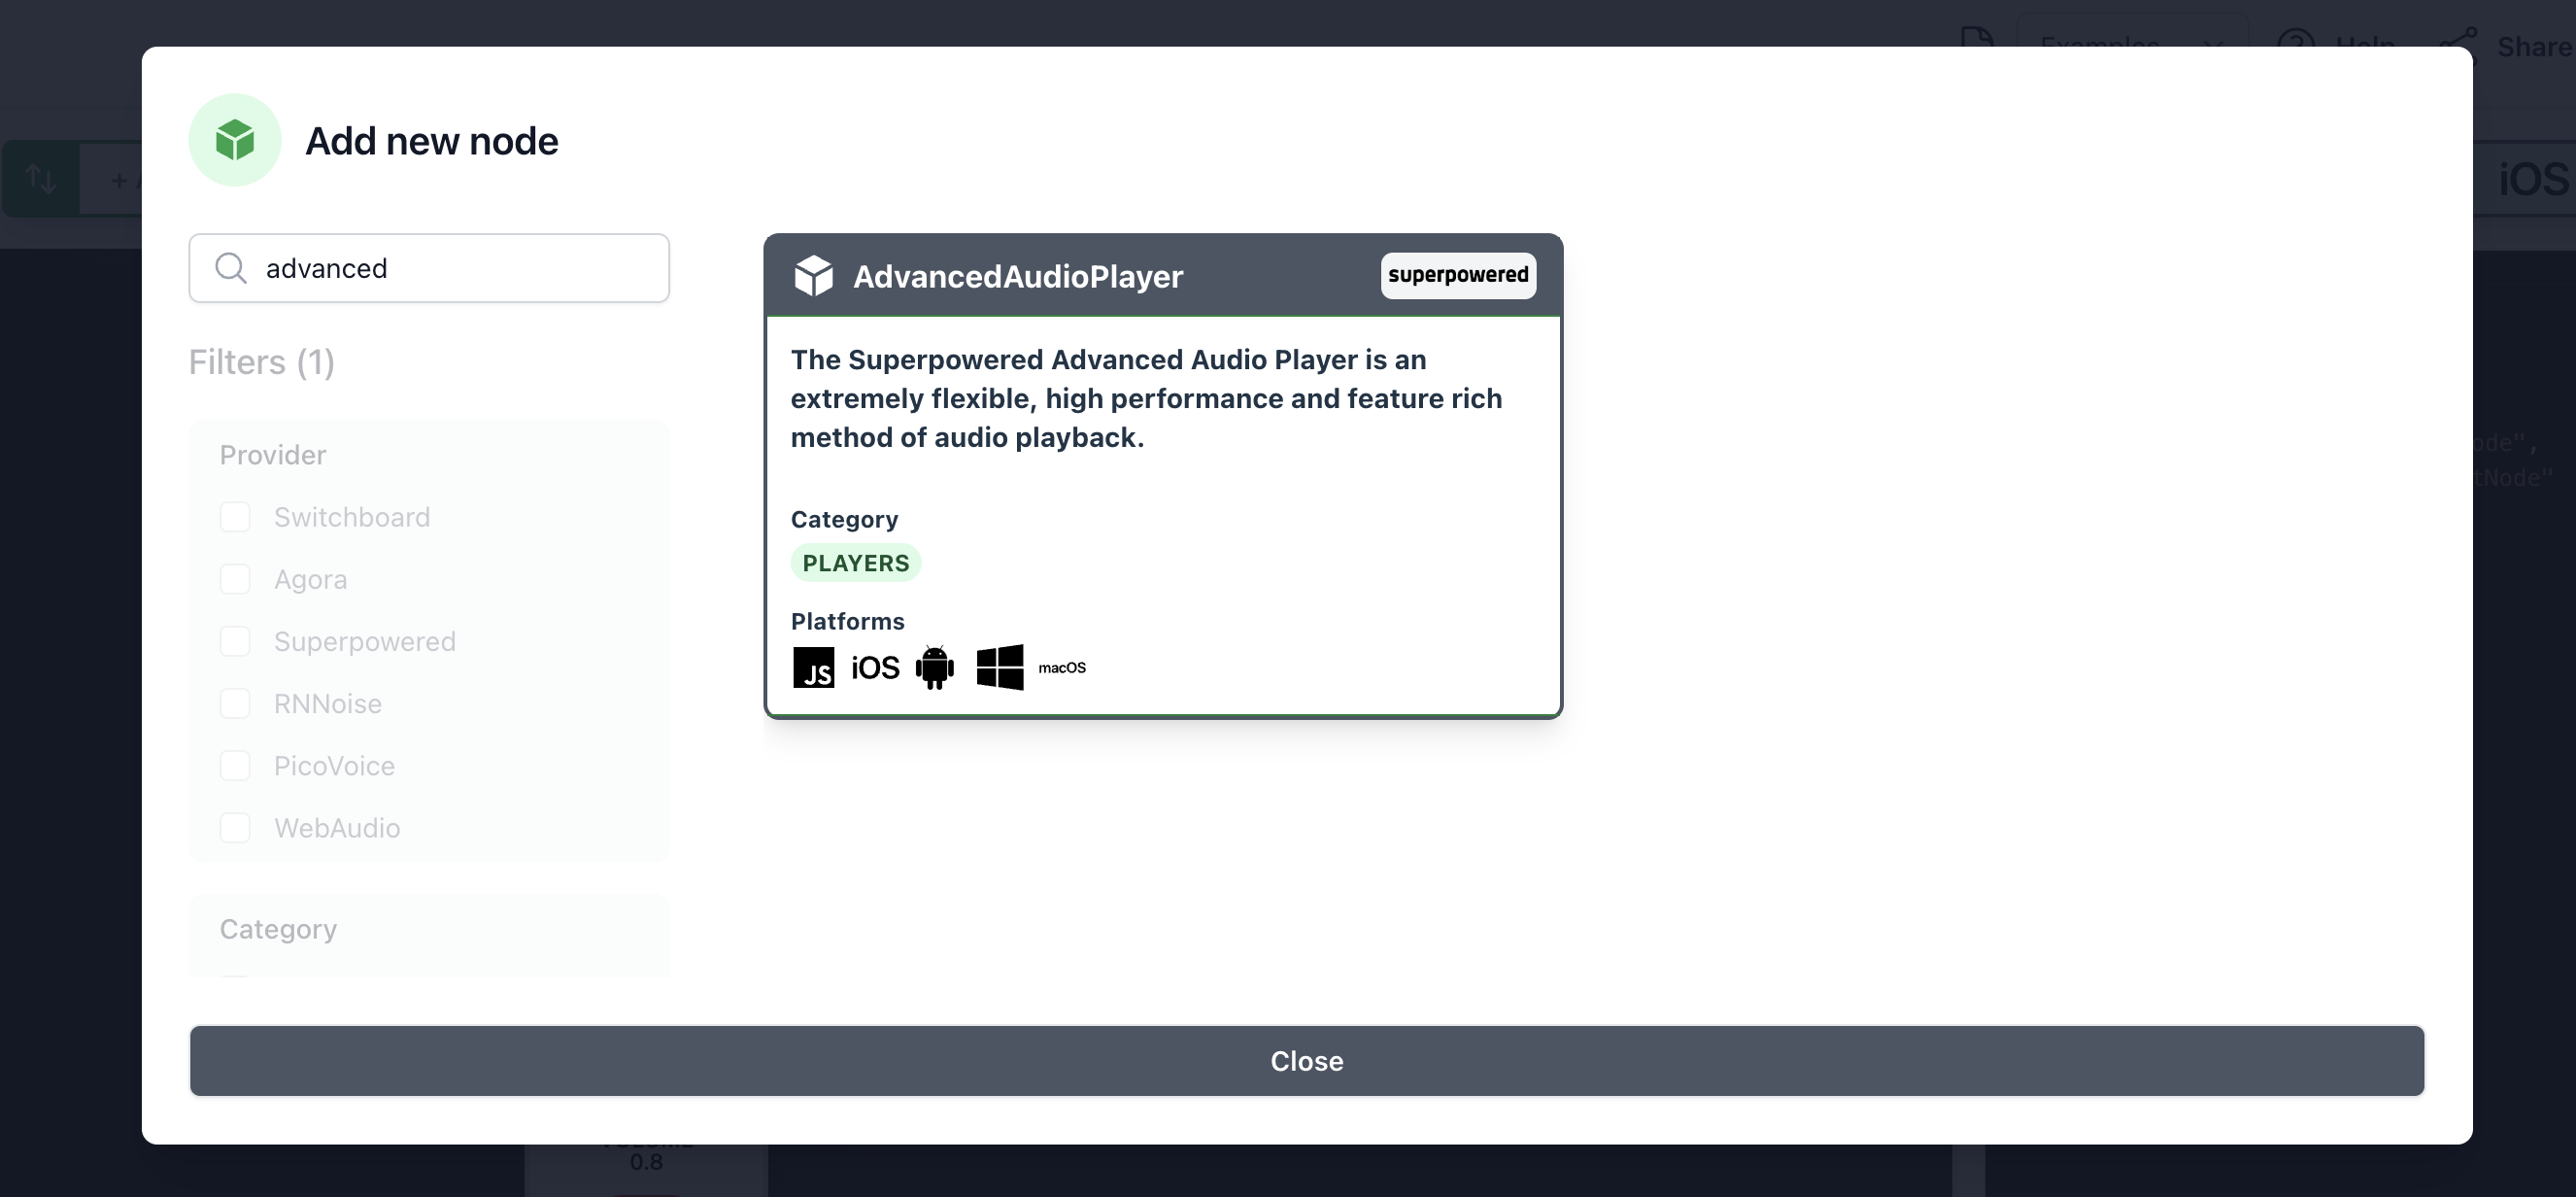
Click on the Add Node button

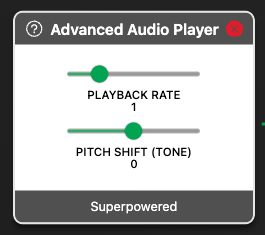
Then select the Advanced Audio Player from Superpowered (a cross platform audio library).
3. Adding an audio asset to the node
As you make the selection, you'll then be asked to add an audio file to the config of the new Superpowered.AdvancedAudioPlayer node.
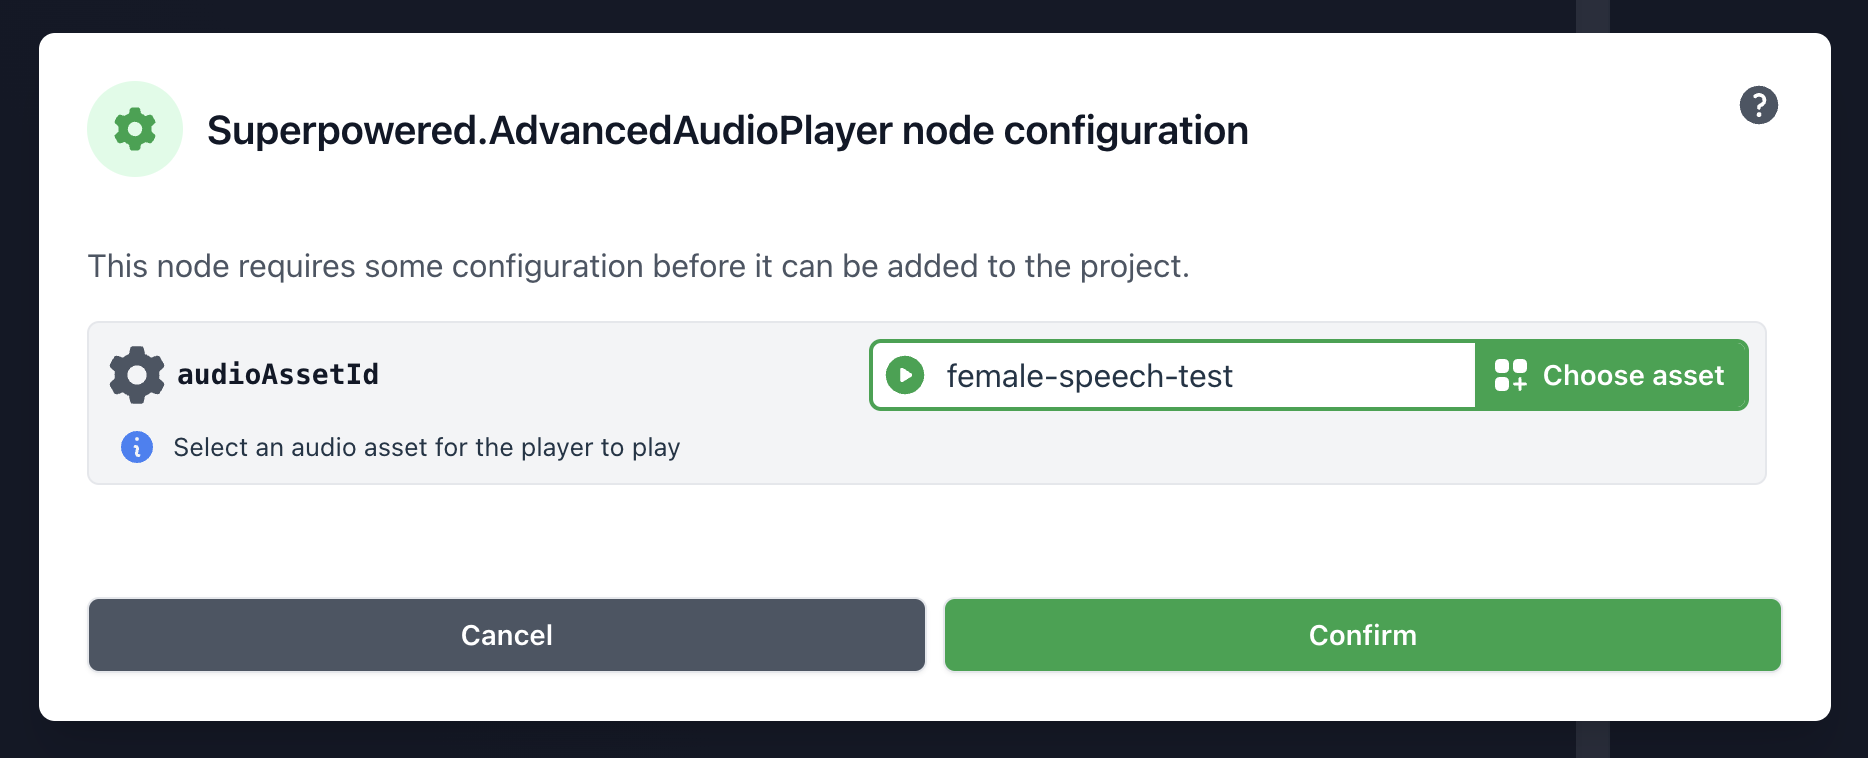
Stick with the default audio asset for now by clicking Confirm.
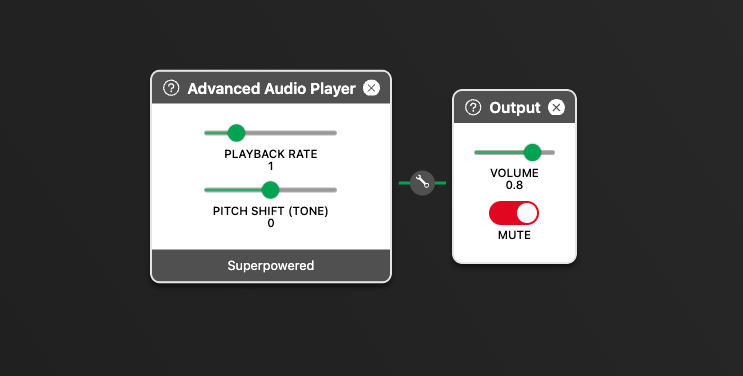
4. Start the audio graph
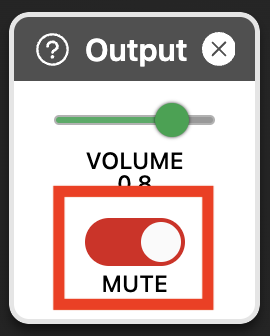
Click the MUTE toggle on the OutputNode to start playback of the audio graph.
You see the audio metering along the bottom of the screen which is useful to determine the accurate levels and spectral content of the audio graph output.

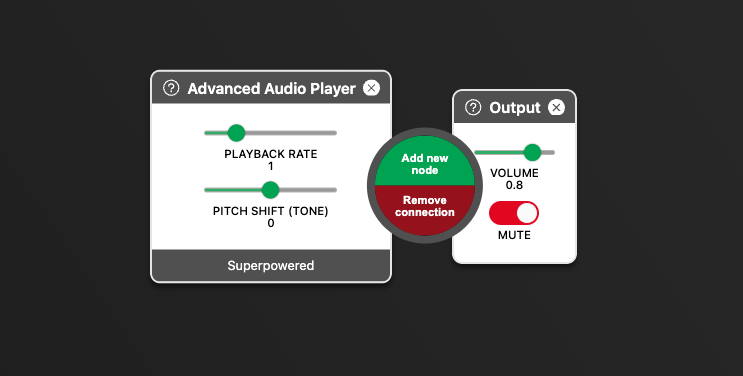
5. Adding audio effects
We can insert an audio effect node into the audio graph by clicking the spanner icon between any node. In this example, we'll insert the new node between the Superpowered.AdvancedAudioPlayer and OutputNode.
Click the Add new node
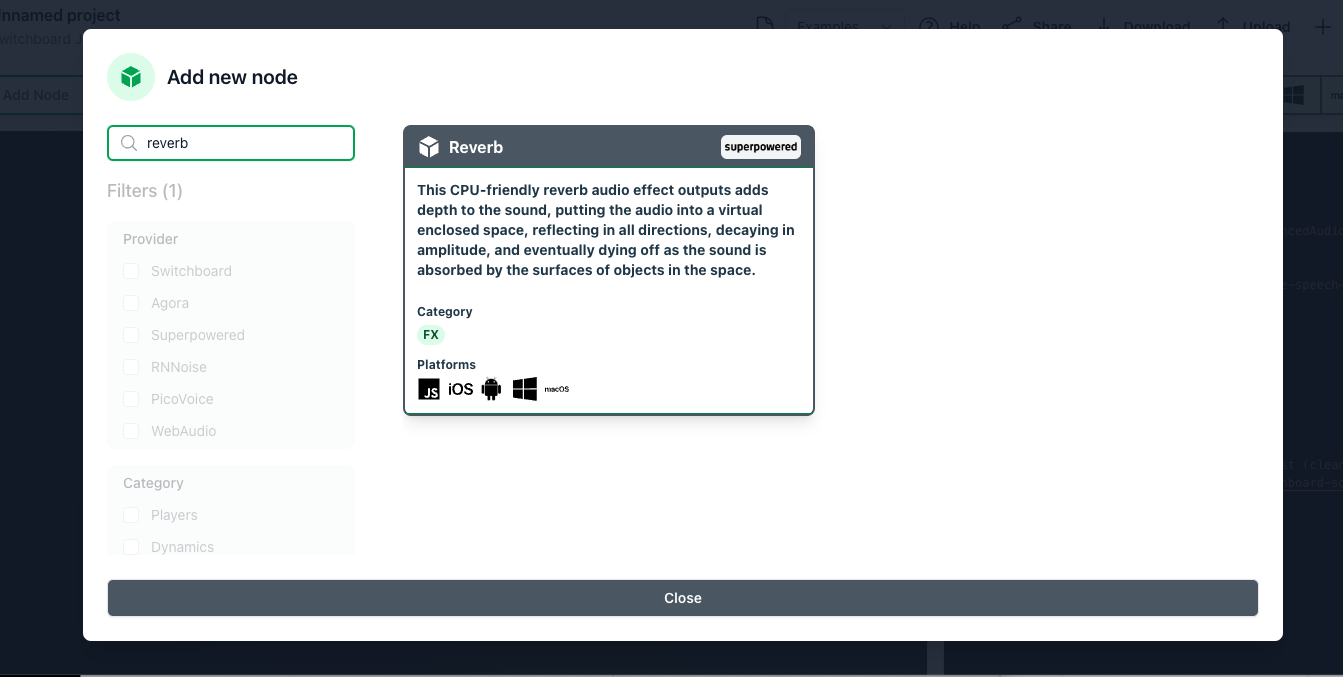
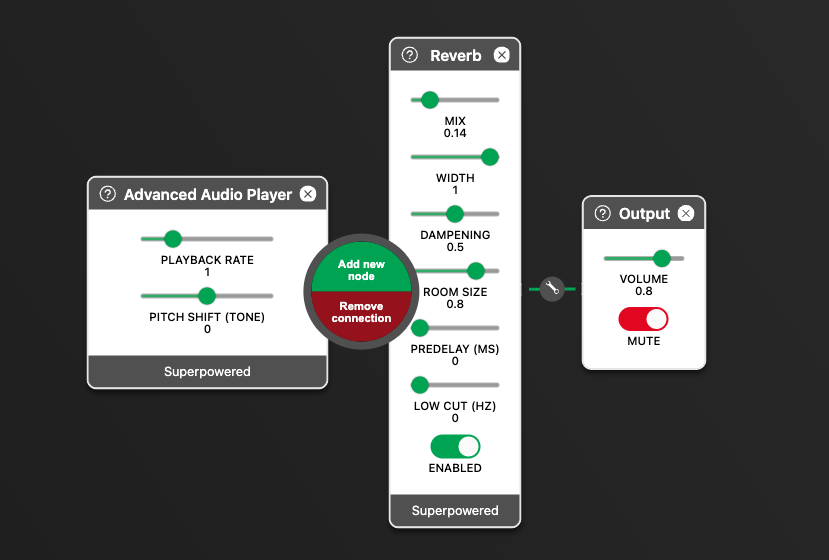
Search for "reverb" and select the Superpowered.Reverb node in the search results.
Now unmute the graph again and listen to it with the new effect. Try turning the effect on and off or play with the sliders and notice how it sounds different.
6. Hear it!
As you see on the right hand side of the Switchboard Editor, the entire Switchboard project can be expressed as Switchboard JSON
{
  "title": "Audio playback example",
  "nodes": [
    {
      "type": "Superpowered.AdvancedAudioPlayer",
      "id": "10febe5a",
      "config": {
        "audioAssetId": "female-speech-test"
      }
    },
    {
      "type": "Superpowered.Reverb",
      "id": "bc8574fa"
    },
    {
      "id": "outputNode",
      "type": "OutputNode"
    }
  ],
  "tracks": [
    {
      "label": "Female speech test (clean)",
      "10febe5a": "https://switchboard-sdk-public.s3.amazonaws.com/assets/audio/speech/clean-voice.mp3"
    }
  ]
}
The Switchboard JSON contains everything you need to run the same graph on different platform using our Switchboard SDK.
Here's an interactive embed of the guide so far, click the Open in Switchboard Editor to open the same Switchboard JSON project.
- Switchboard Project
Hopefully now you understand how easy it is to prototype and experiment in realtime using the Switchboard Editor!
7. Add microphone feed
Let's suppose we'd like to use the devices microphone as an audio source in our audio graph. We'll need to replace the current Superpowered.AdvancedAudioPlayer node with a UserInputSource node.
First, add a new node between the Superpowered.AdvancedAudioPlayer and Superpowered.Reverb nodes.
Then search for "microphone" to quickly pull up the UserInputSource node we need.

You should now remove the old Superpowered.AdvancedAudioPlayer node, by clicking the red cross in the top right. You'll be asked to confirm the removal of the node.
If you run the graph again, you'll now hear the user microphone being fed through the reverb. If its the first time you've used the Switchboard Editor, you may be prompted for microphone permissions from the browser. Note that the UserInputSource node is compatible on all platforms and will capture the input audio from the underlying platform APIs.
The Switchboard Editor and JSON now look like this
- Switchboard Project
- Switchboard JSON
{
    "nodes": [
        {
            "type": "UserInputSource",
            "id": "1b1eeb52"
        },
        {
            "type": "Superpowered.Reverb",
            "id": "bc8574fa",
        },
        {
            "id": "outputNode",
            "type": "OutputNode"
        }
    ]
}
Integration
You can always see what platforms are supported for your current Switchboard JSON by referring to the integration compatability icons

Here we see that this guide's Switchboard JSON will run on all platforms apart from Embedded.
If you'd like to run your Switchboard JSON audio engine in you own application, see our Integration guides.
Other examples
You can find other examples of Switchboard JSON in the examples section of our docs site.